How to Create a Single Ticket Type
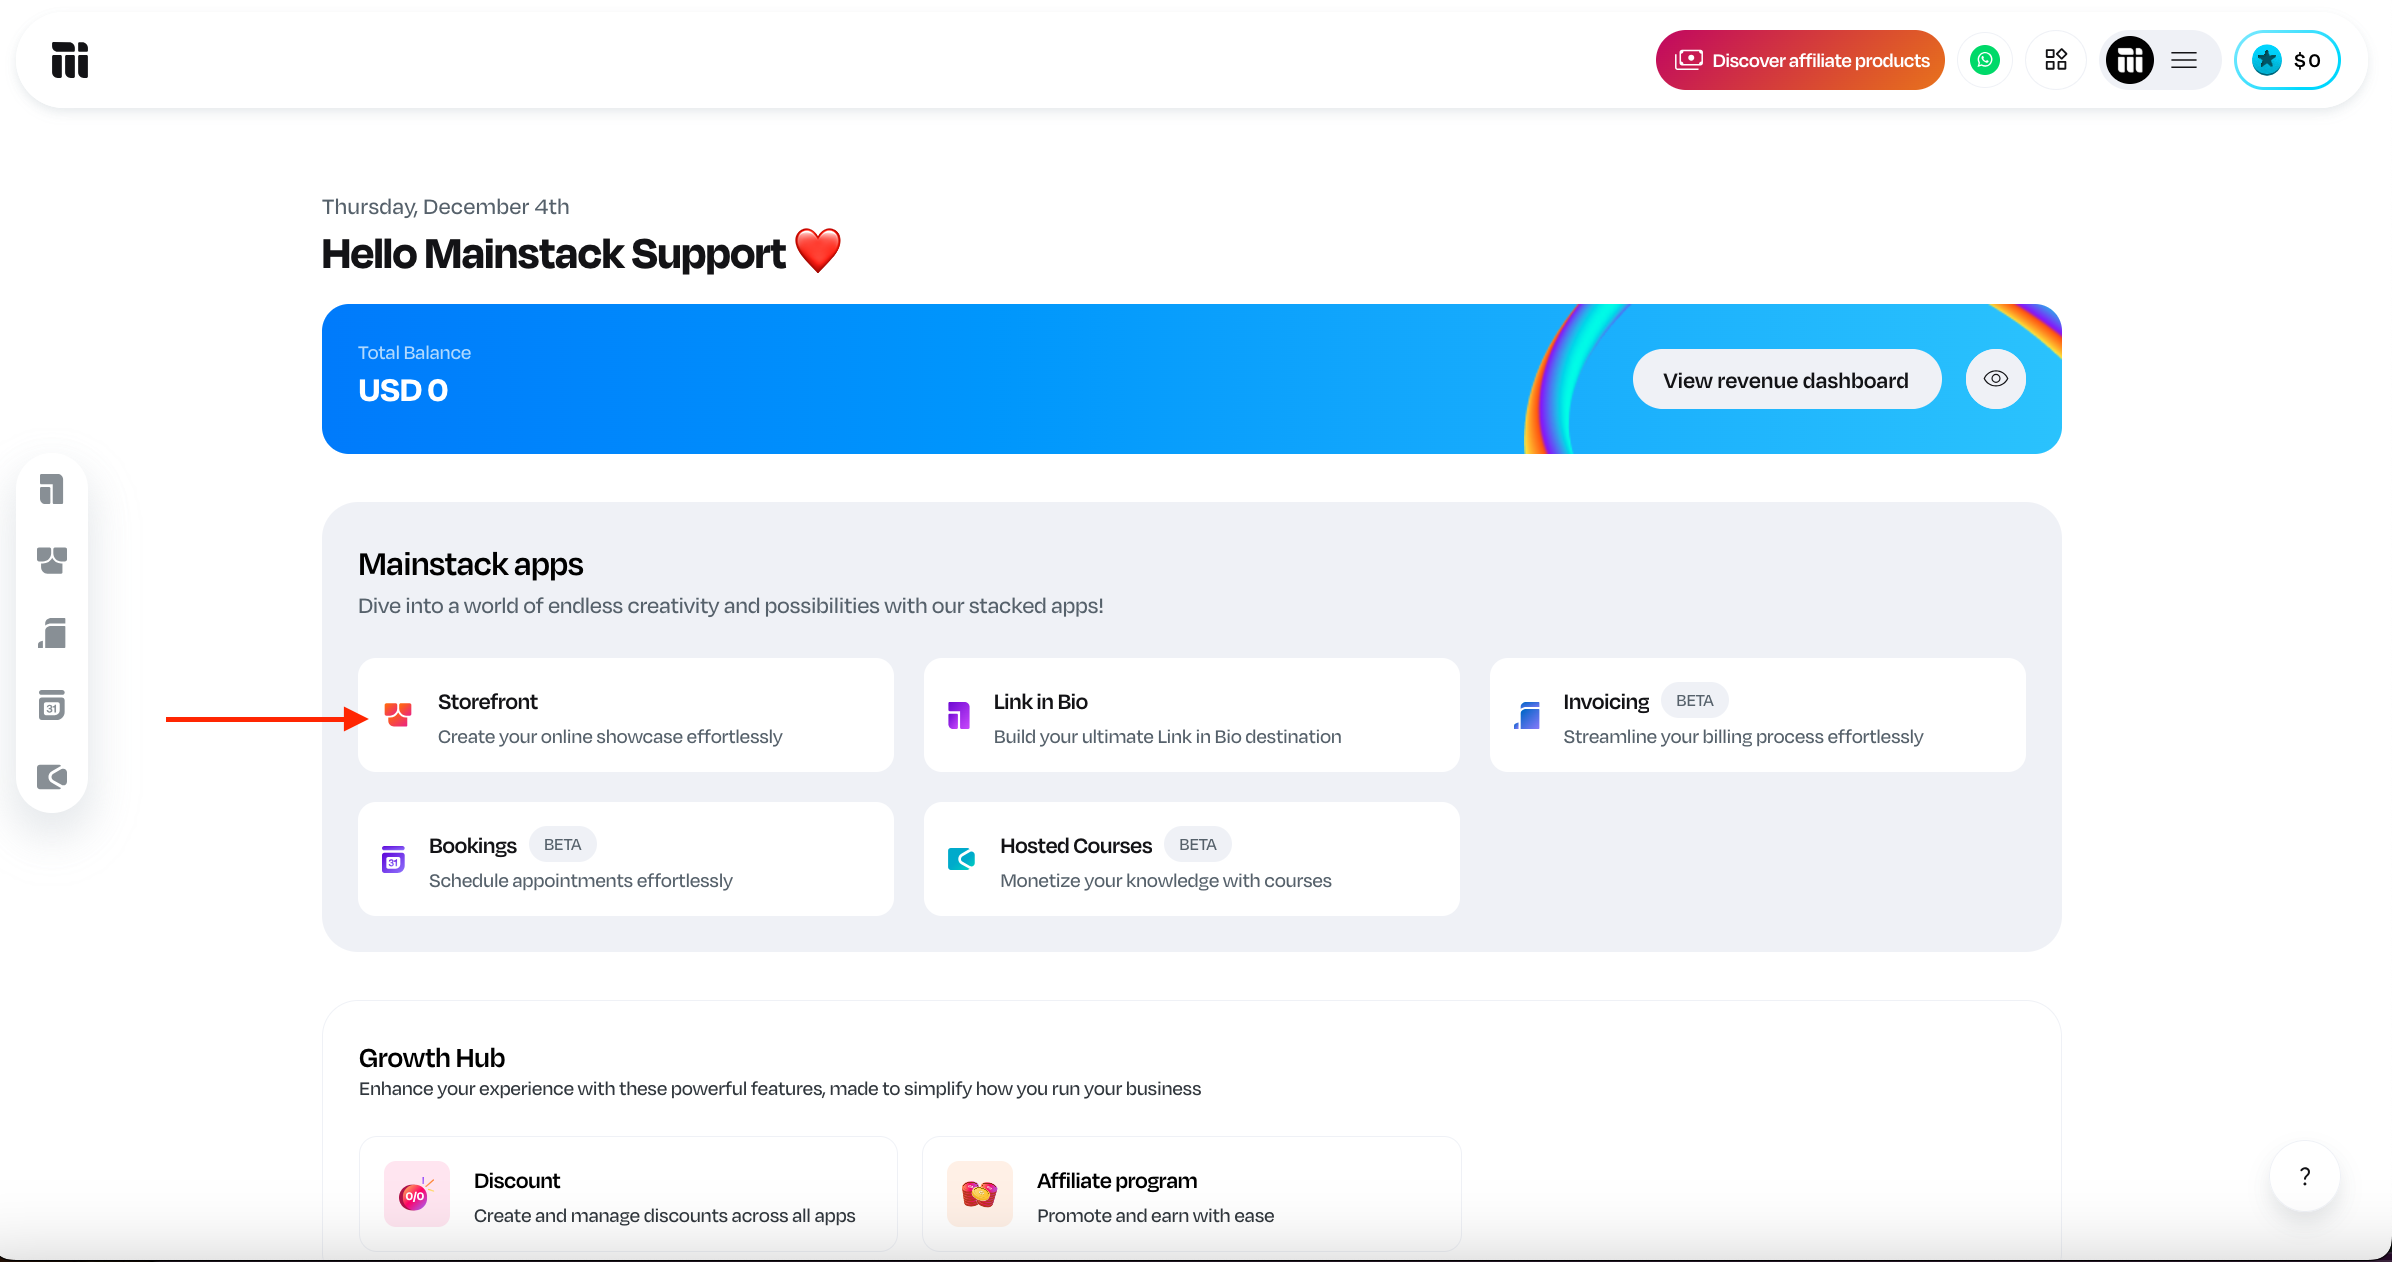
Log in to your Mainstack Dashboard. On the Home page, scroll to the Mainstack Apps section and click on Storefront.
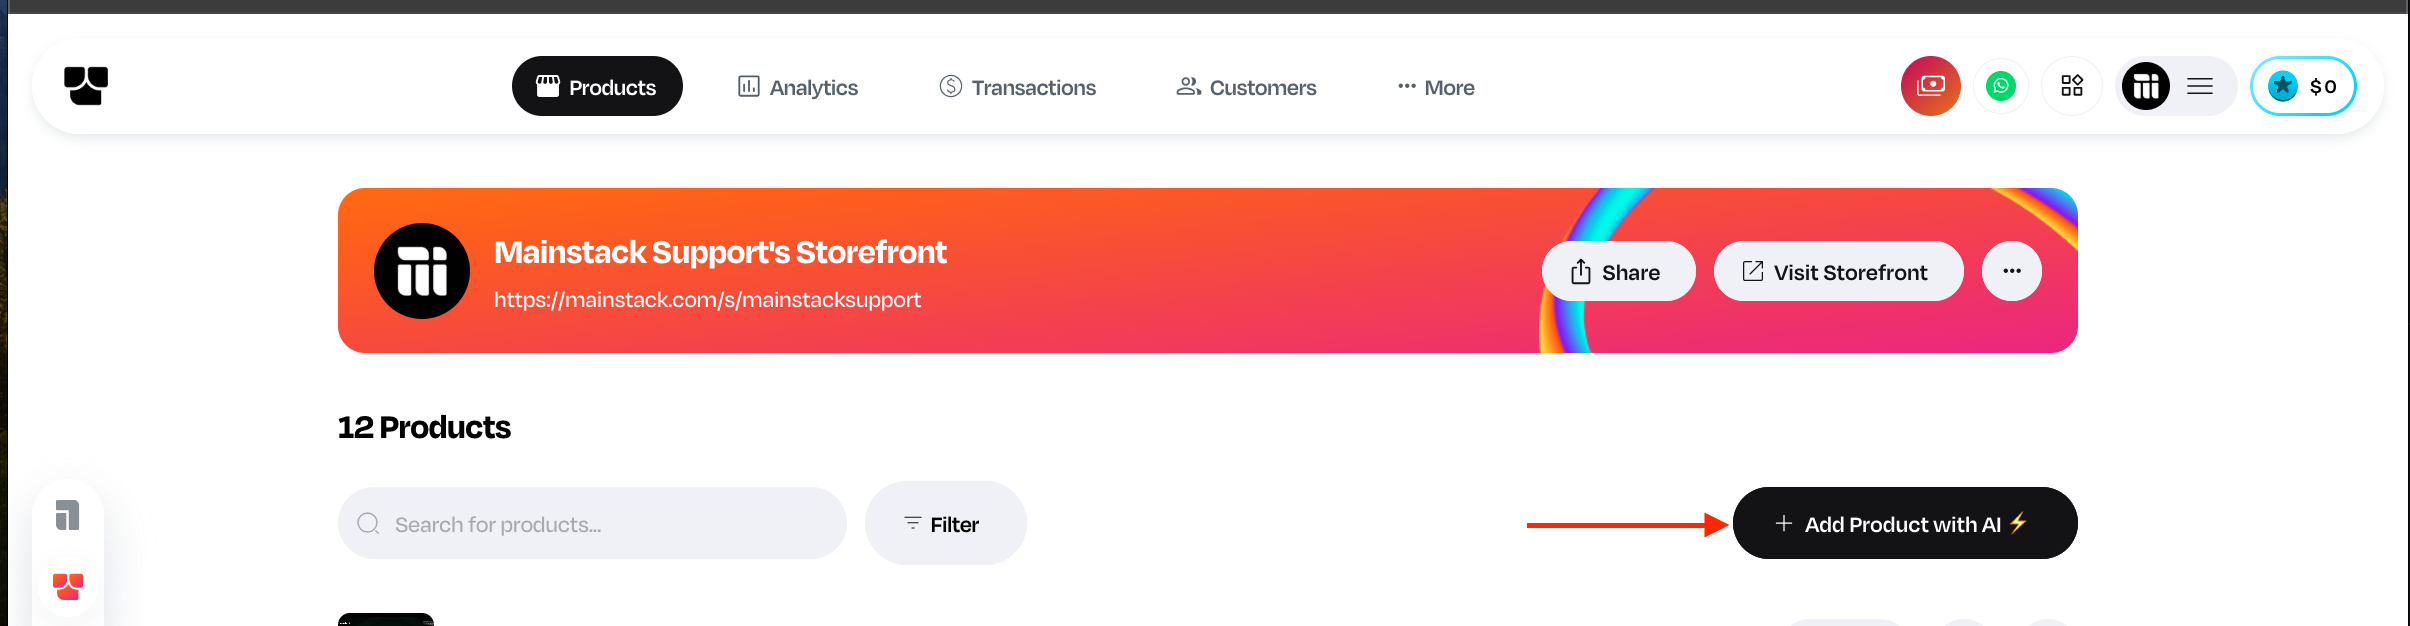
Click on the ‘+ Add product with AI’ button.
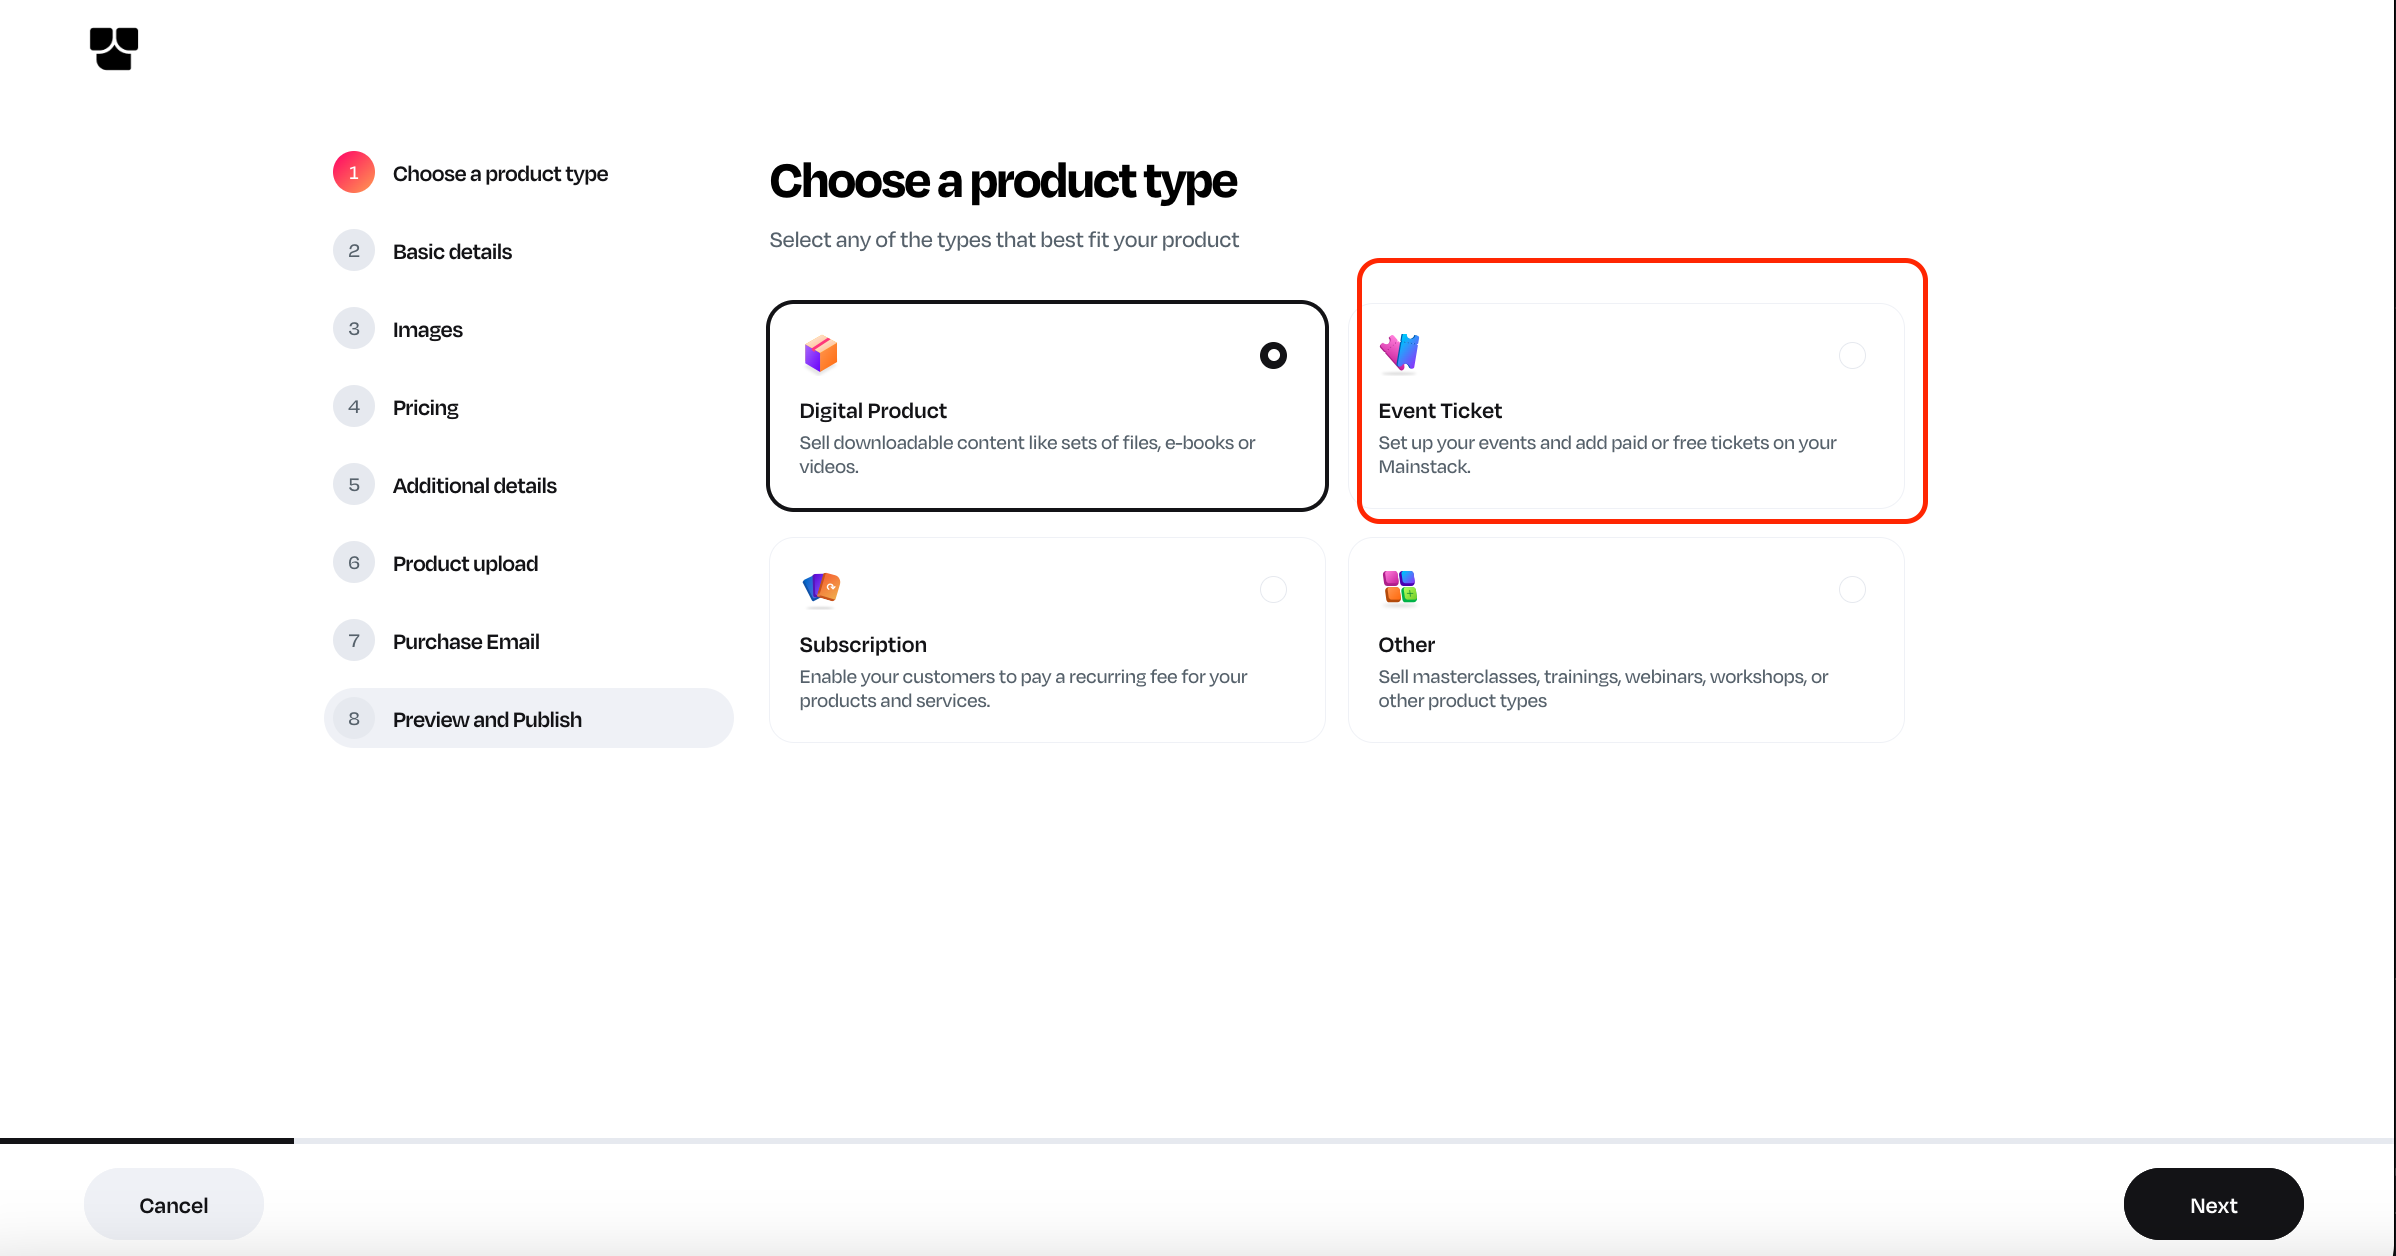
Select Event Ticket as your preferred product type.
Enter the basic information about the event.
Add the event cover image
Set the date and location
Set your ticket price
Choose “single ticket” as your ticket type

Add ticket name and quantity per purchase
Add Additional details and publish your ticket.
Related Articles
How to Create a Group Ticket
Log in to your Mainstack Dashboard. On the Home page, scroll to the Mainstack Apps section and click on Storefront. Click on the ‘+ Add product with AI’ button. Select Event Ticket as your preferred product type. Enter the basic information about the ...
How to create Tickets
Step-by-step guide on how to create tickets. Step 1: Log in to your dashboard Step 2: Click Products Step 3: Click “+ Create product” Step 4: Select the product type “Tickets” and click Proceed Step 5: Input the event title, preferred URL, and ...
How to Hide Ticket Counts
If you are setting up a new event; Log in to your Mainstack Dashboard. On the Home page, scroll to the Mainstack Apps section and click on Storefront. Click on the ‘+ Add product with AI’ button. Select Event Ticket as your preferred product type. ...
Step-by-Step Guide to Setting Up and Selling Event Tickets
Do you have an event coming up? Are you wondering how to create, manage, and sell tickets without stress? We know that organizing events can be time-consuming, from setting up registration to managing payments and keeping track of attendees. On ...
How to add special ticket perks
Step-by-step guide on how to add special ticket perks. Step 1: Log in to your dashboard Step 2: Click Products Step 3: Search for and click on the product, then Step 4: Click Tickets Step 5: Scroll to the Perks section and toggle on the ticket perks ...